This Veterans Day, entertain the kids while honoring our veterans by making your very own American flag paper bag kite!
Read moreAmerican Flag Paper Bag Kites
Image via Fun Loving Families
Image via Fun Loving Families
This Veterans Day, entertain the kids while honoring our veterans by making your very own American flag paper bag kite!
Read moreThere's something even more sweet about a gift wrapped with a personal touch and tender care.
We think these miniature gingerbread houses made from a natural kraft SOS grocery bag are just the thing to hold a cookie, a card, or a small trinket. Believe it or not, they are also easy to make!
Start by gathering your supplies:

http://www.craftberrybush.com/2015/12/gingerbread-house-paper-bag-gift-wrap-idea.html
Design your gingerbread house:
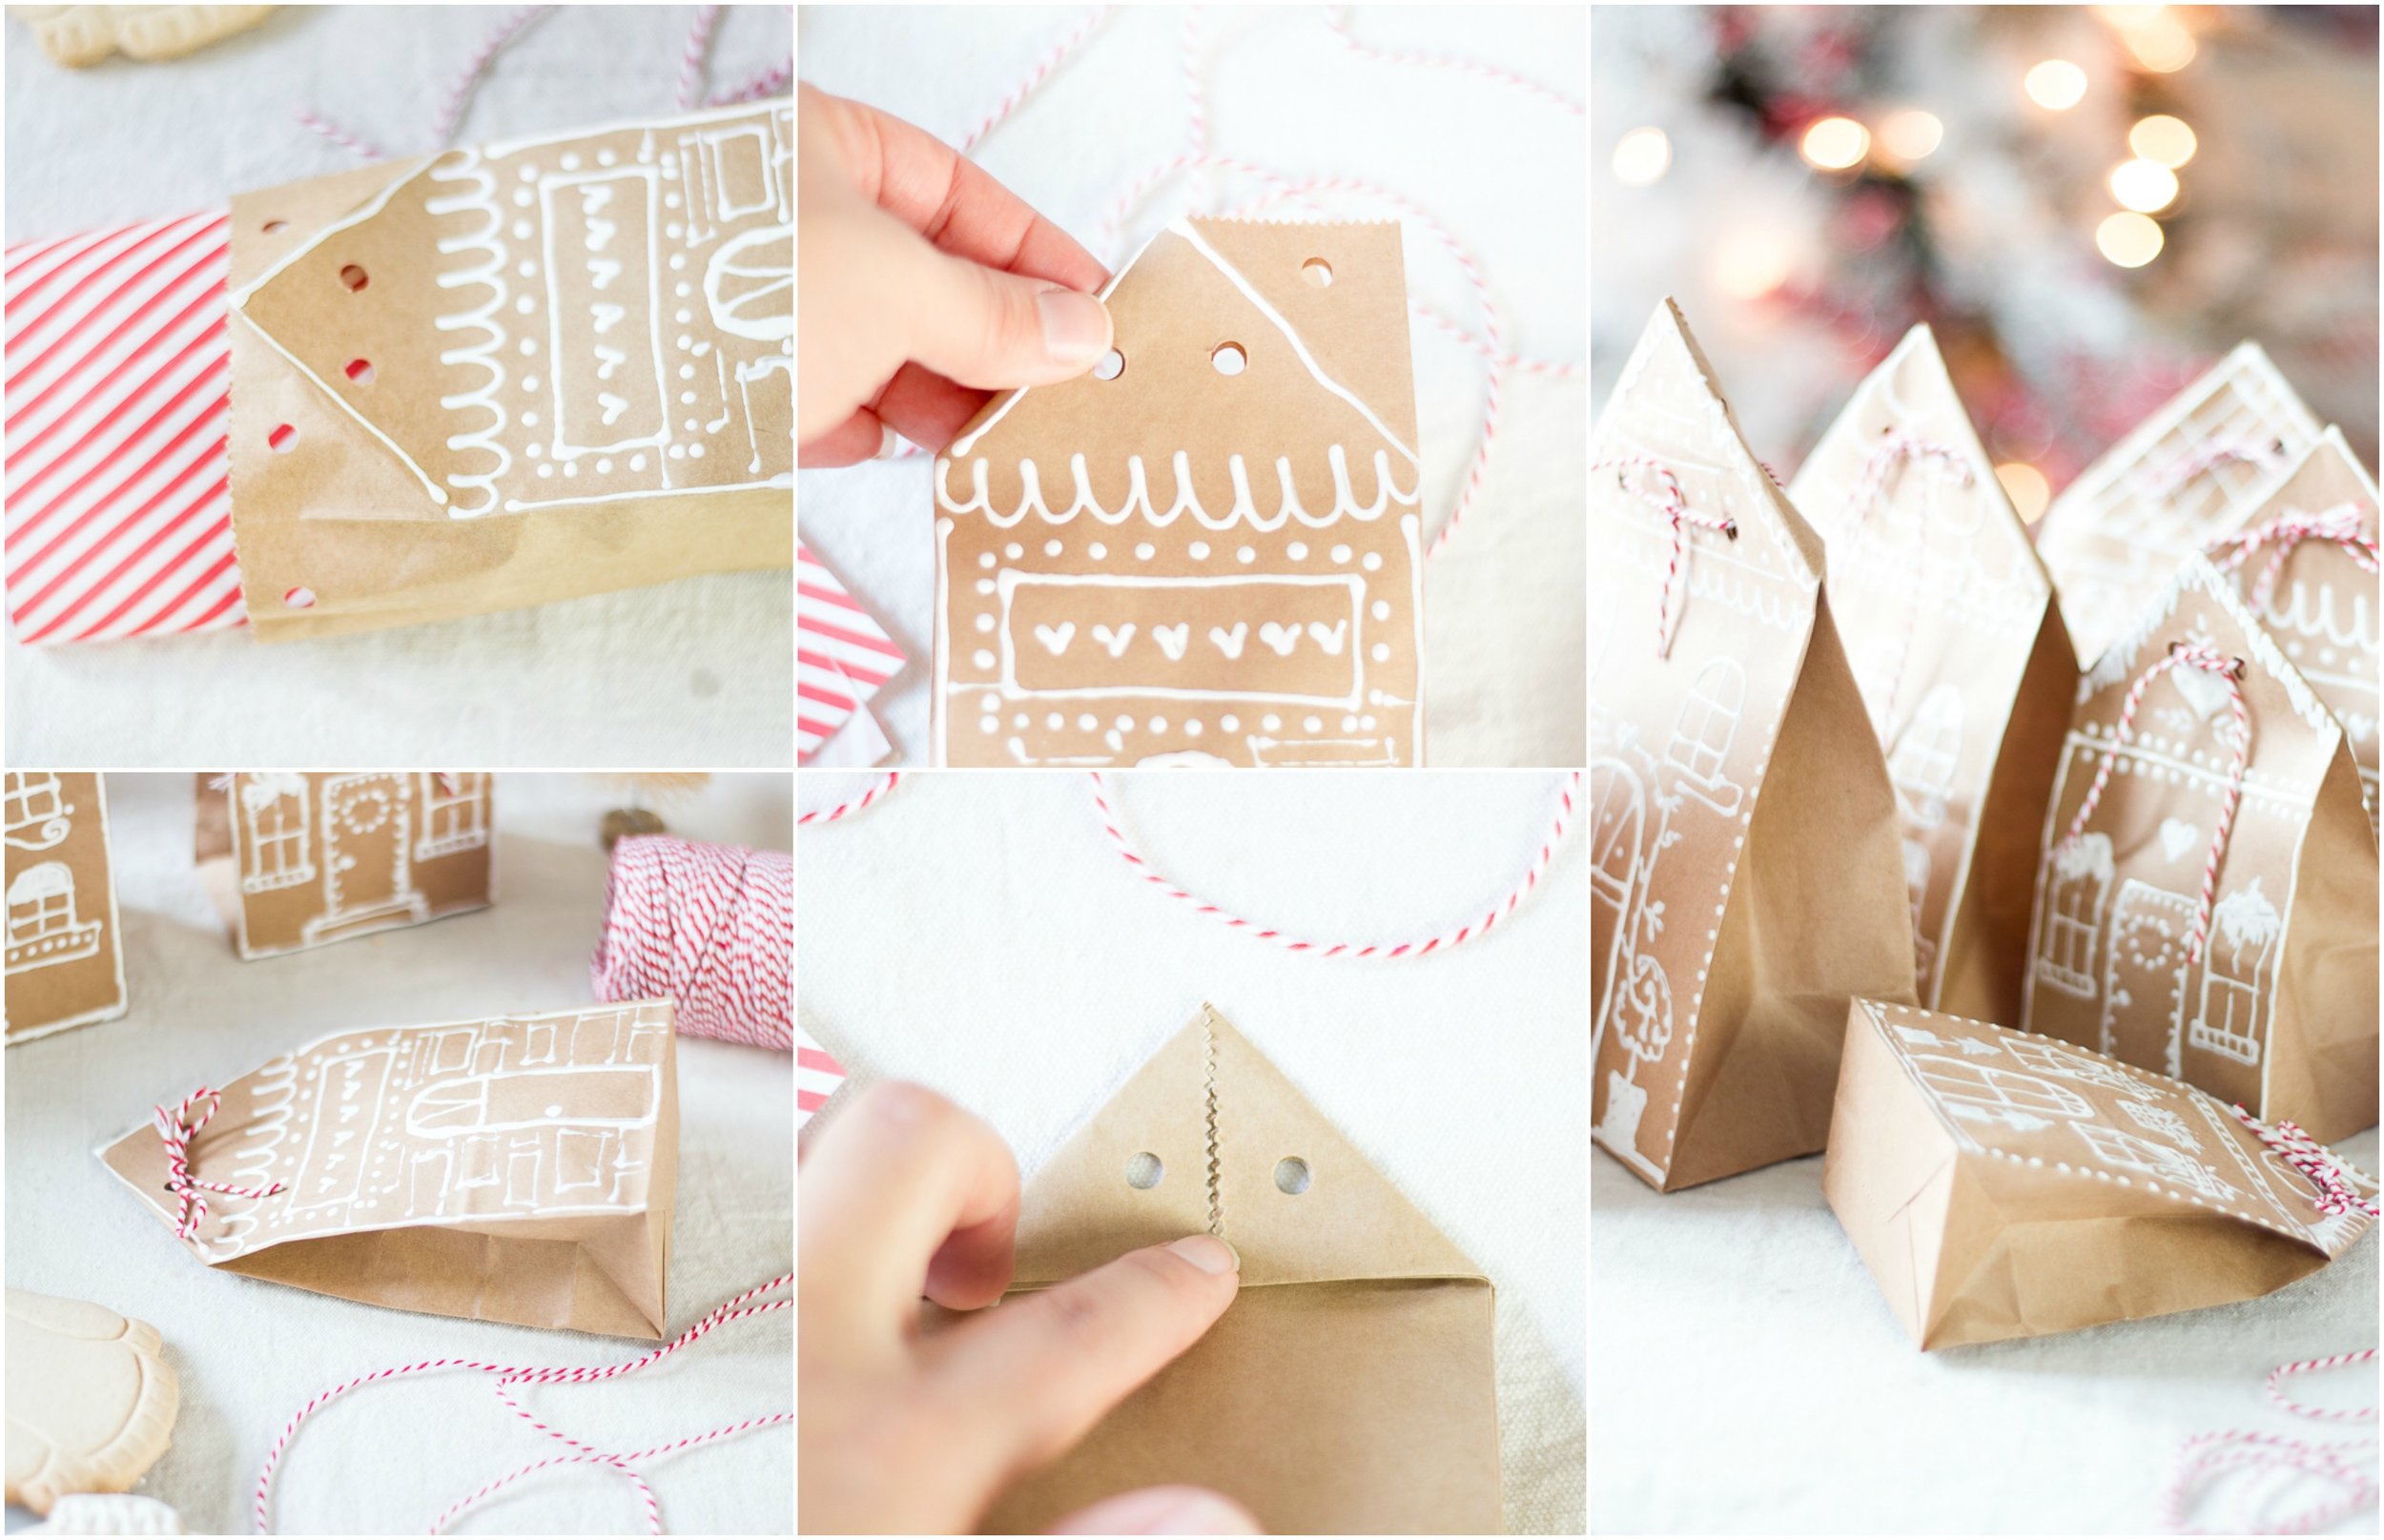
http://www.craftberrybush.com/2015/12/gingerbread-house-paper-bag-gift-wrap-idea.html
Gather your goodies!
Gather the goodies of your choice, and place them in your open bag
Tie with twine, string, or ribbon of your choosing

http://www.craftberrybush.com/2015/12/gingerbread-house-paper-bag-gift-wrap-idea.html
Enjoy your handiwork:
And remember, any flaws are just part of the charm!

http://www.craftberrybush.com/2015/12/gingerbread-house-paper-bag-gift-wrap-idea.html
You can quickly, easily, and creatively protect textbooks from wear and tear with just a brown paper grocery sack!
What you’ll need:

Step One:
Open the bag and cut along a side seam from top to bottom and then all the way around the bottom of the bag until you are left with one large rectangle of paper and a small rectangle of paper that had previously been the bottom of the bag. Discard the small rectangle, or have your kids cut it into strips and decorate it for book marks!
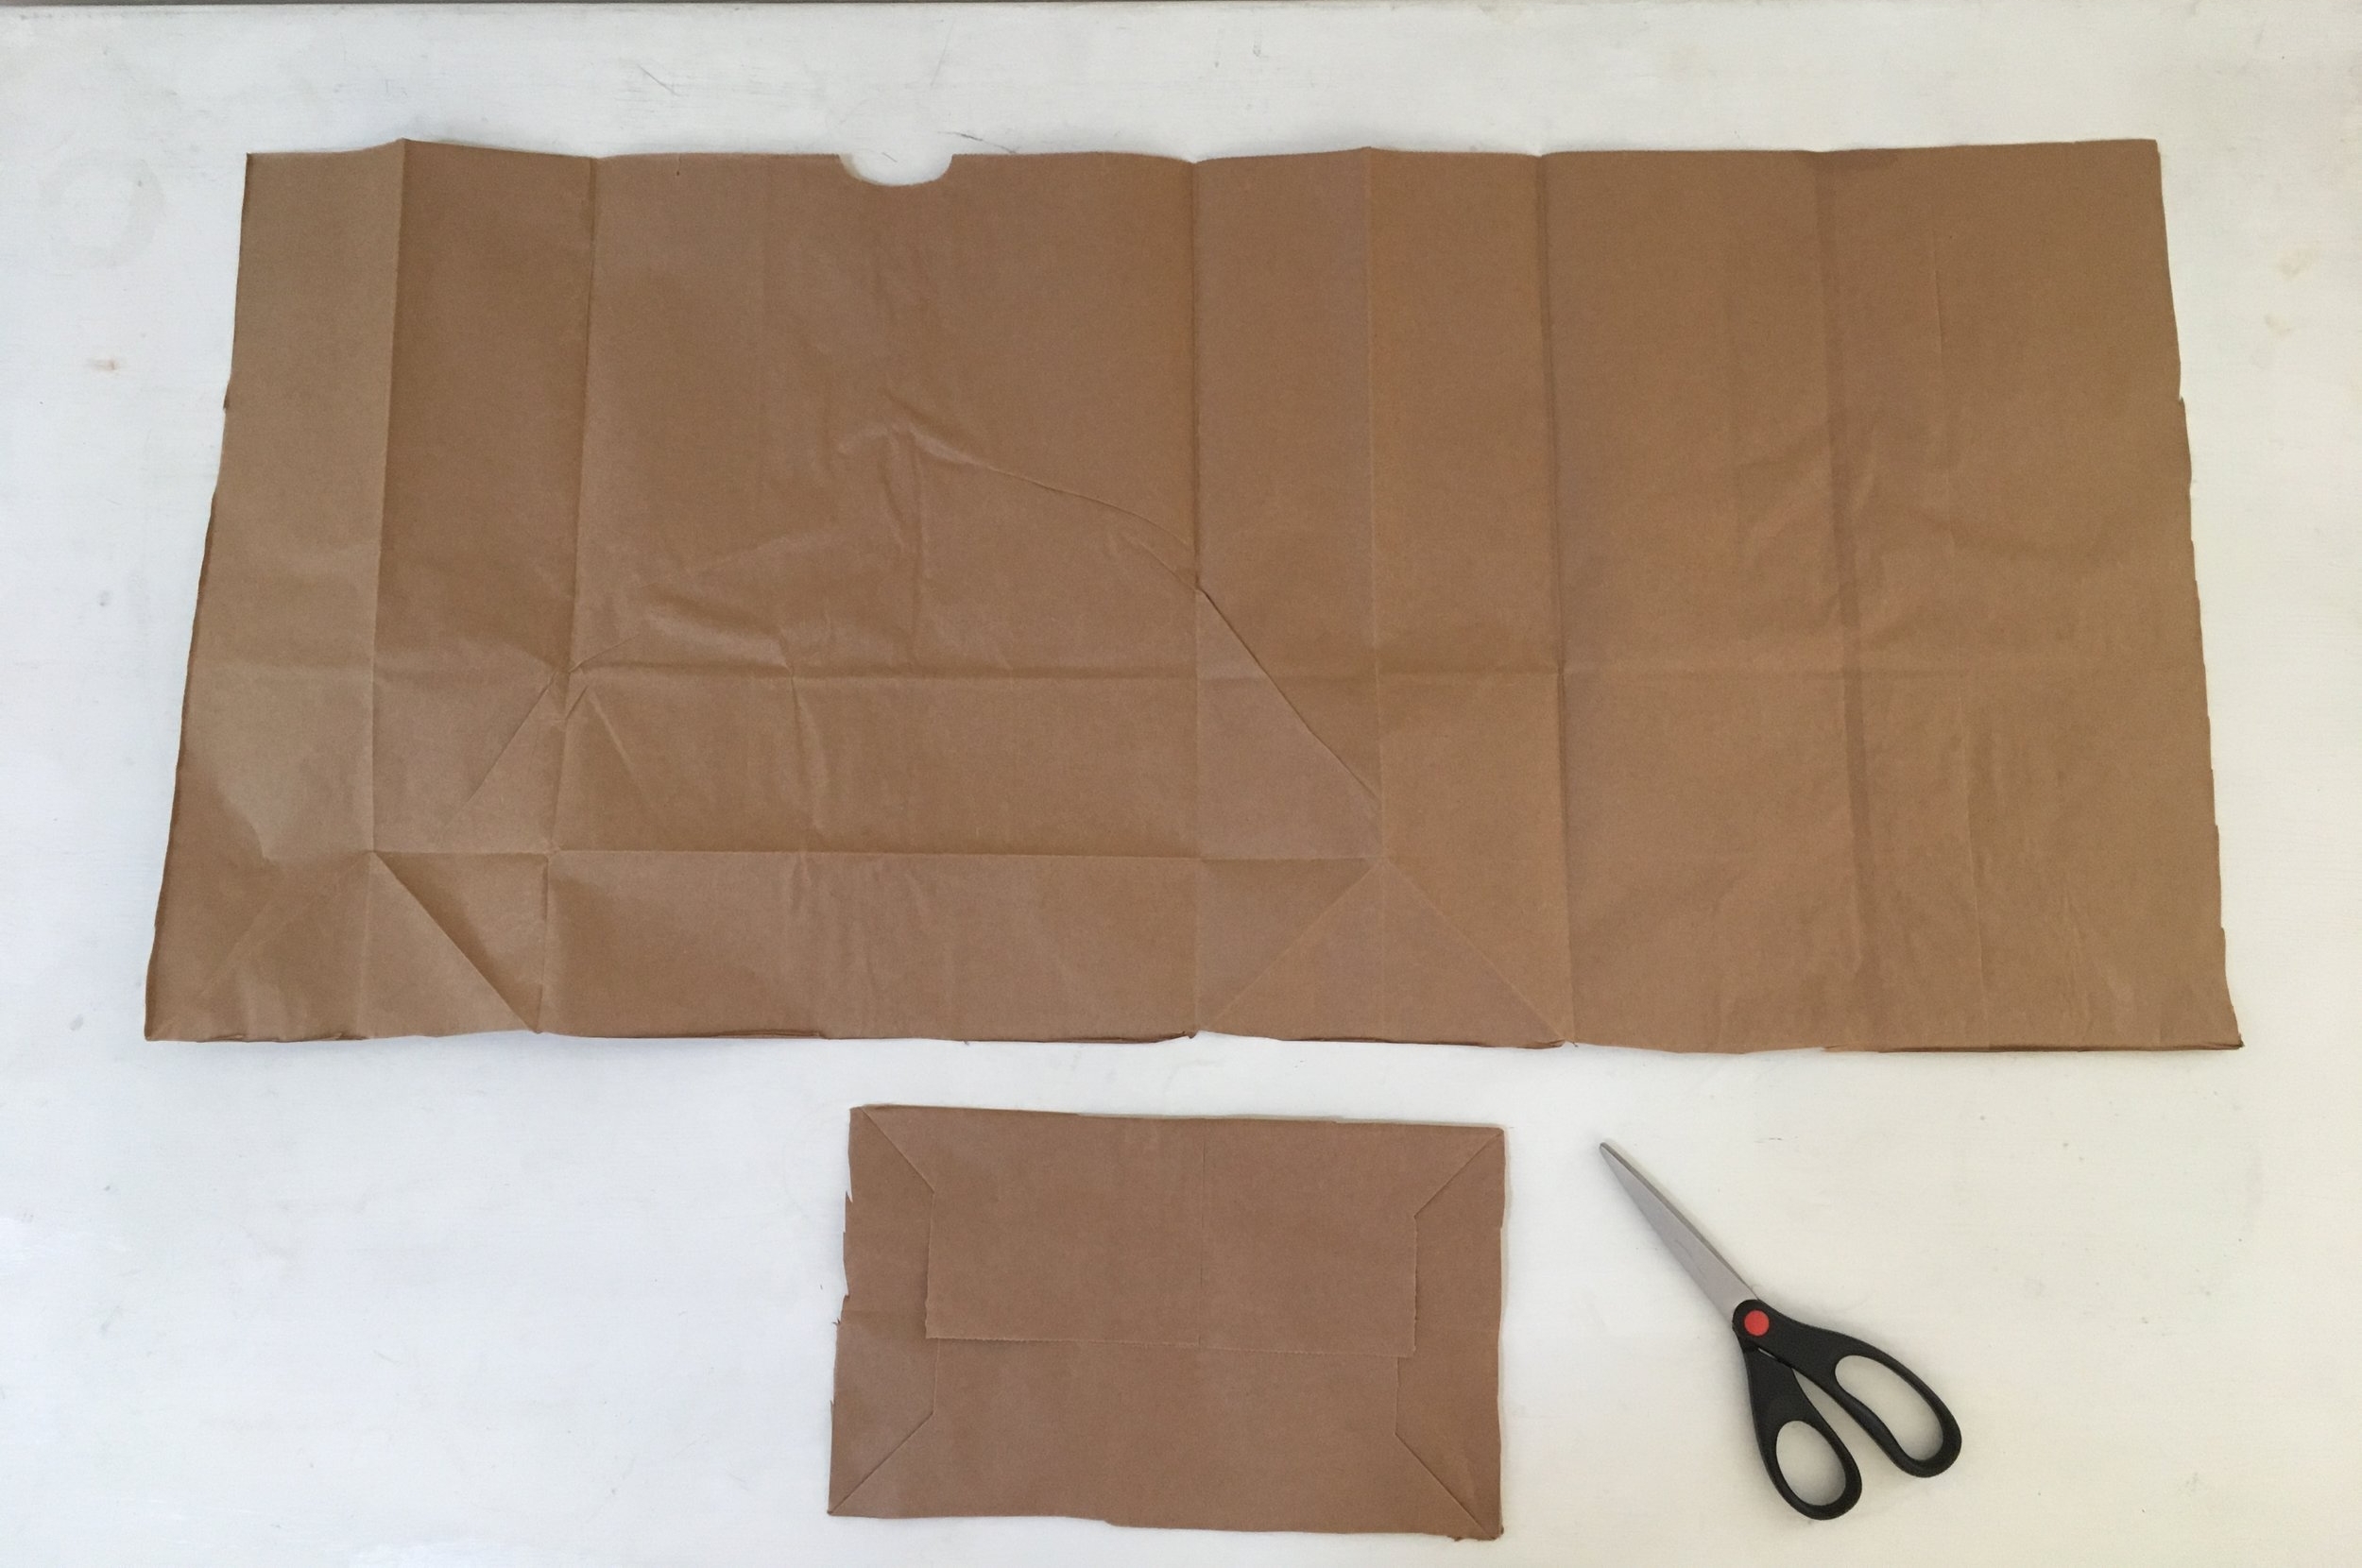
Step Two:
Lay your book in the center of the large rectangle of paper. Use a pencil to mark the top and bottom of the bag then fold along the lines you made (longways). Press the folds firmly, so that you have a crisp edge.
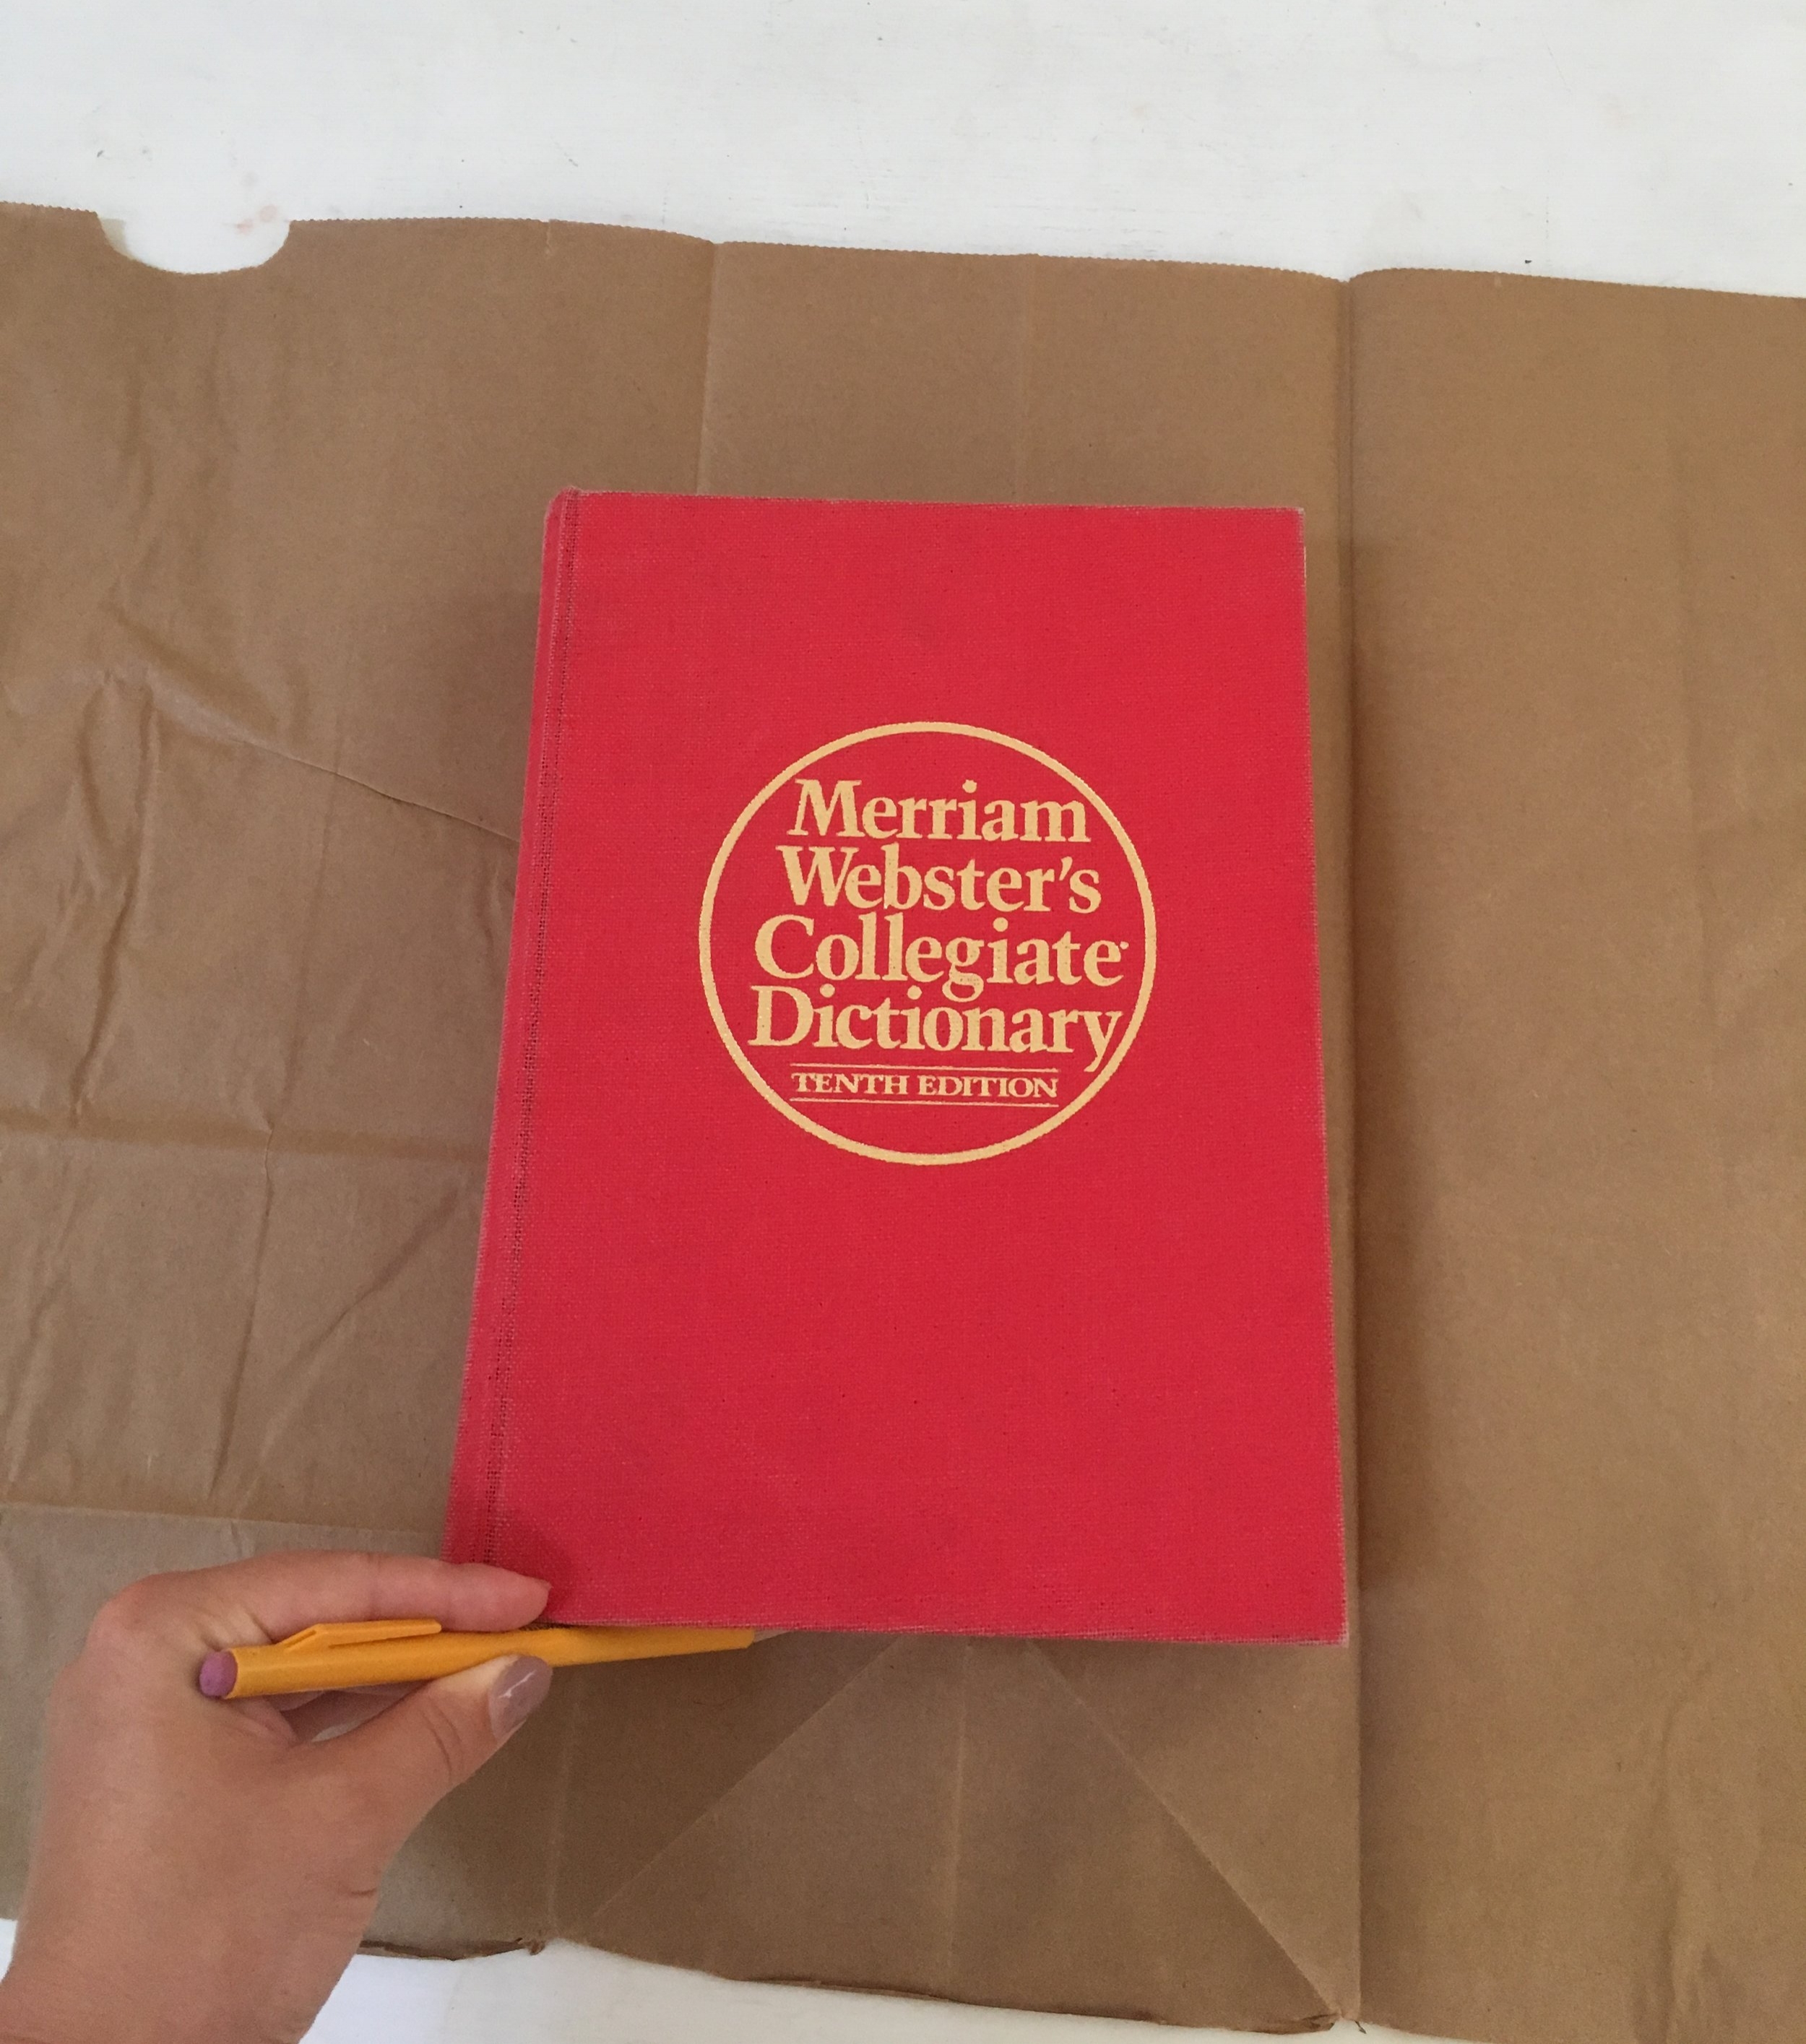
Step Three:
Move the book to the left edge of the newly folded rectangle of paper. Take the left edge of the paper so that it wraps around the left end of the book’s cover by about one third to one half of the width of the inside cover. Remove the book and then fold the left edge to make a crisp crease in the paper. Once you’ve made your crease, slip the cover of the book inside the edges of the fold. Slide the cover down until it fits snugly against your crease.
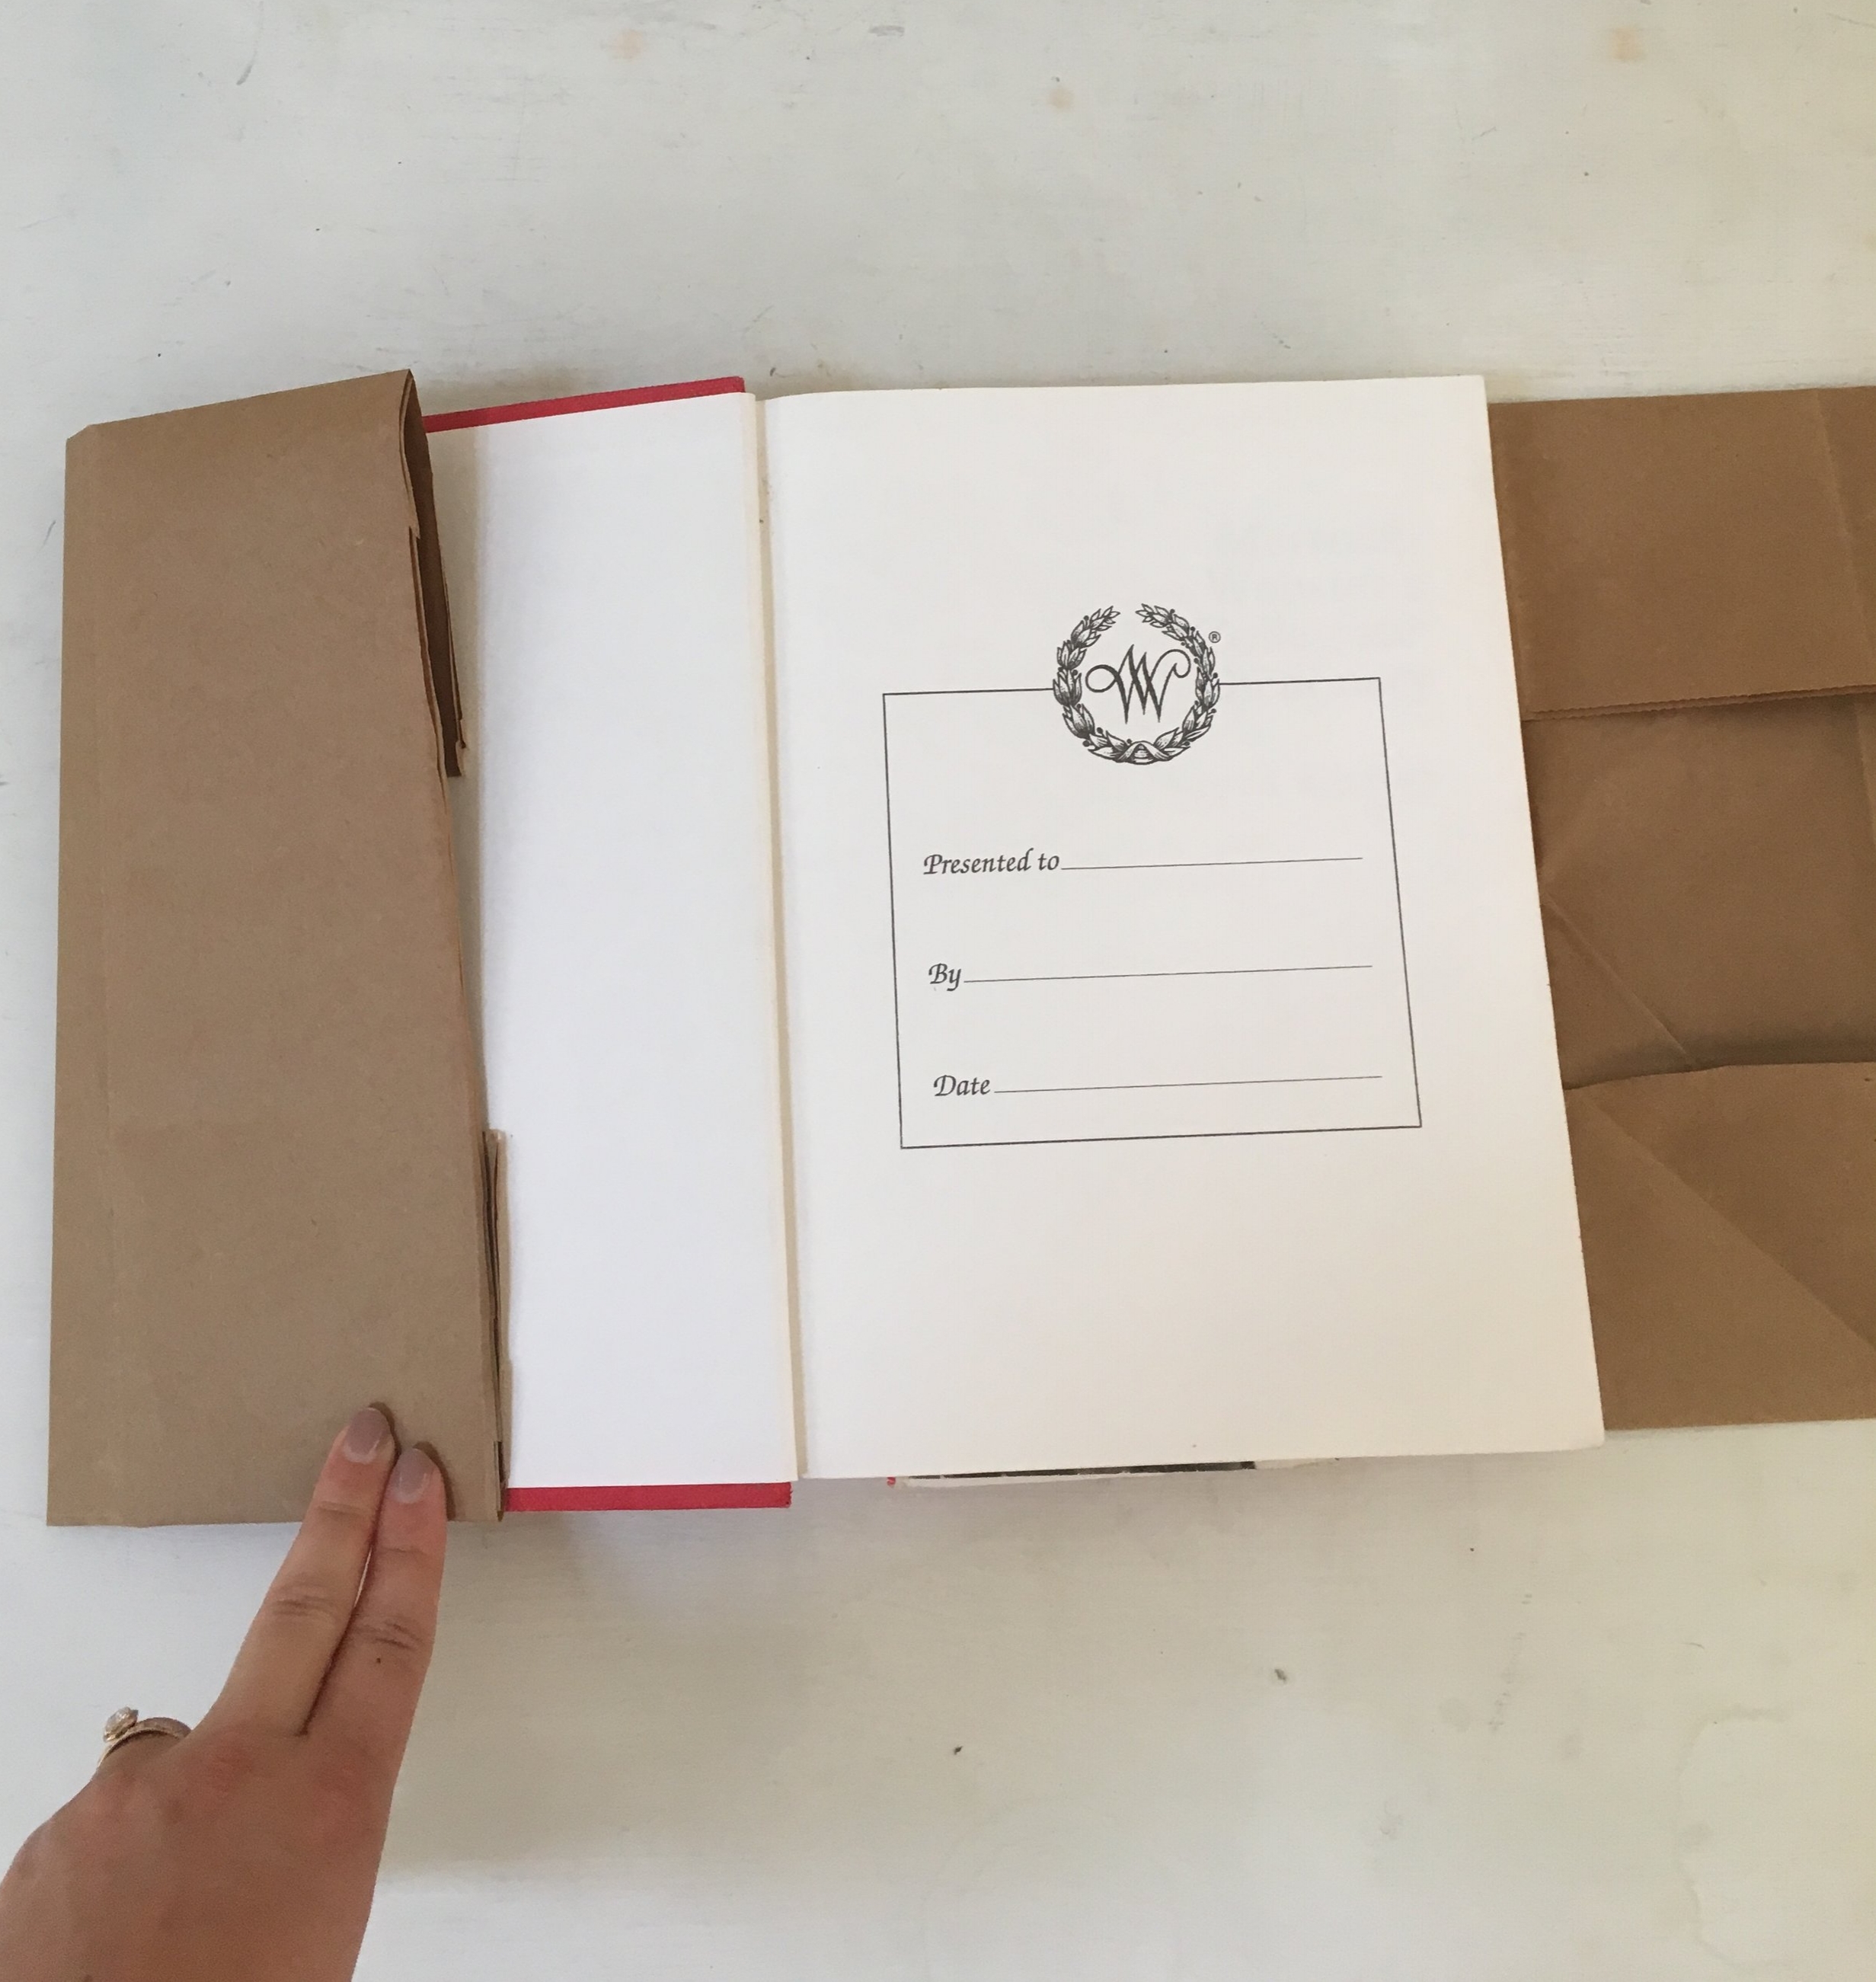
Step Four:
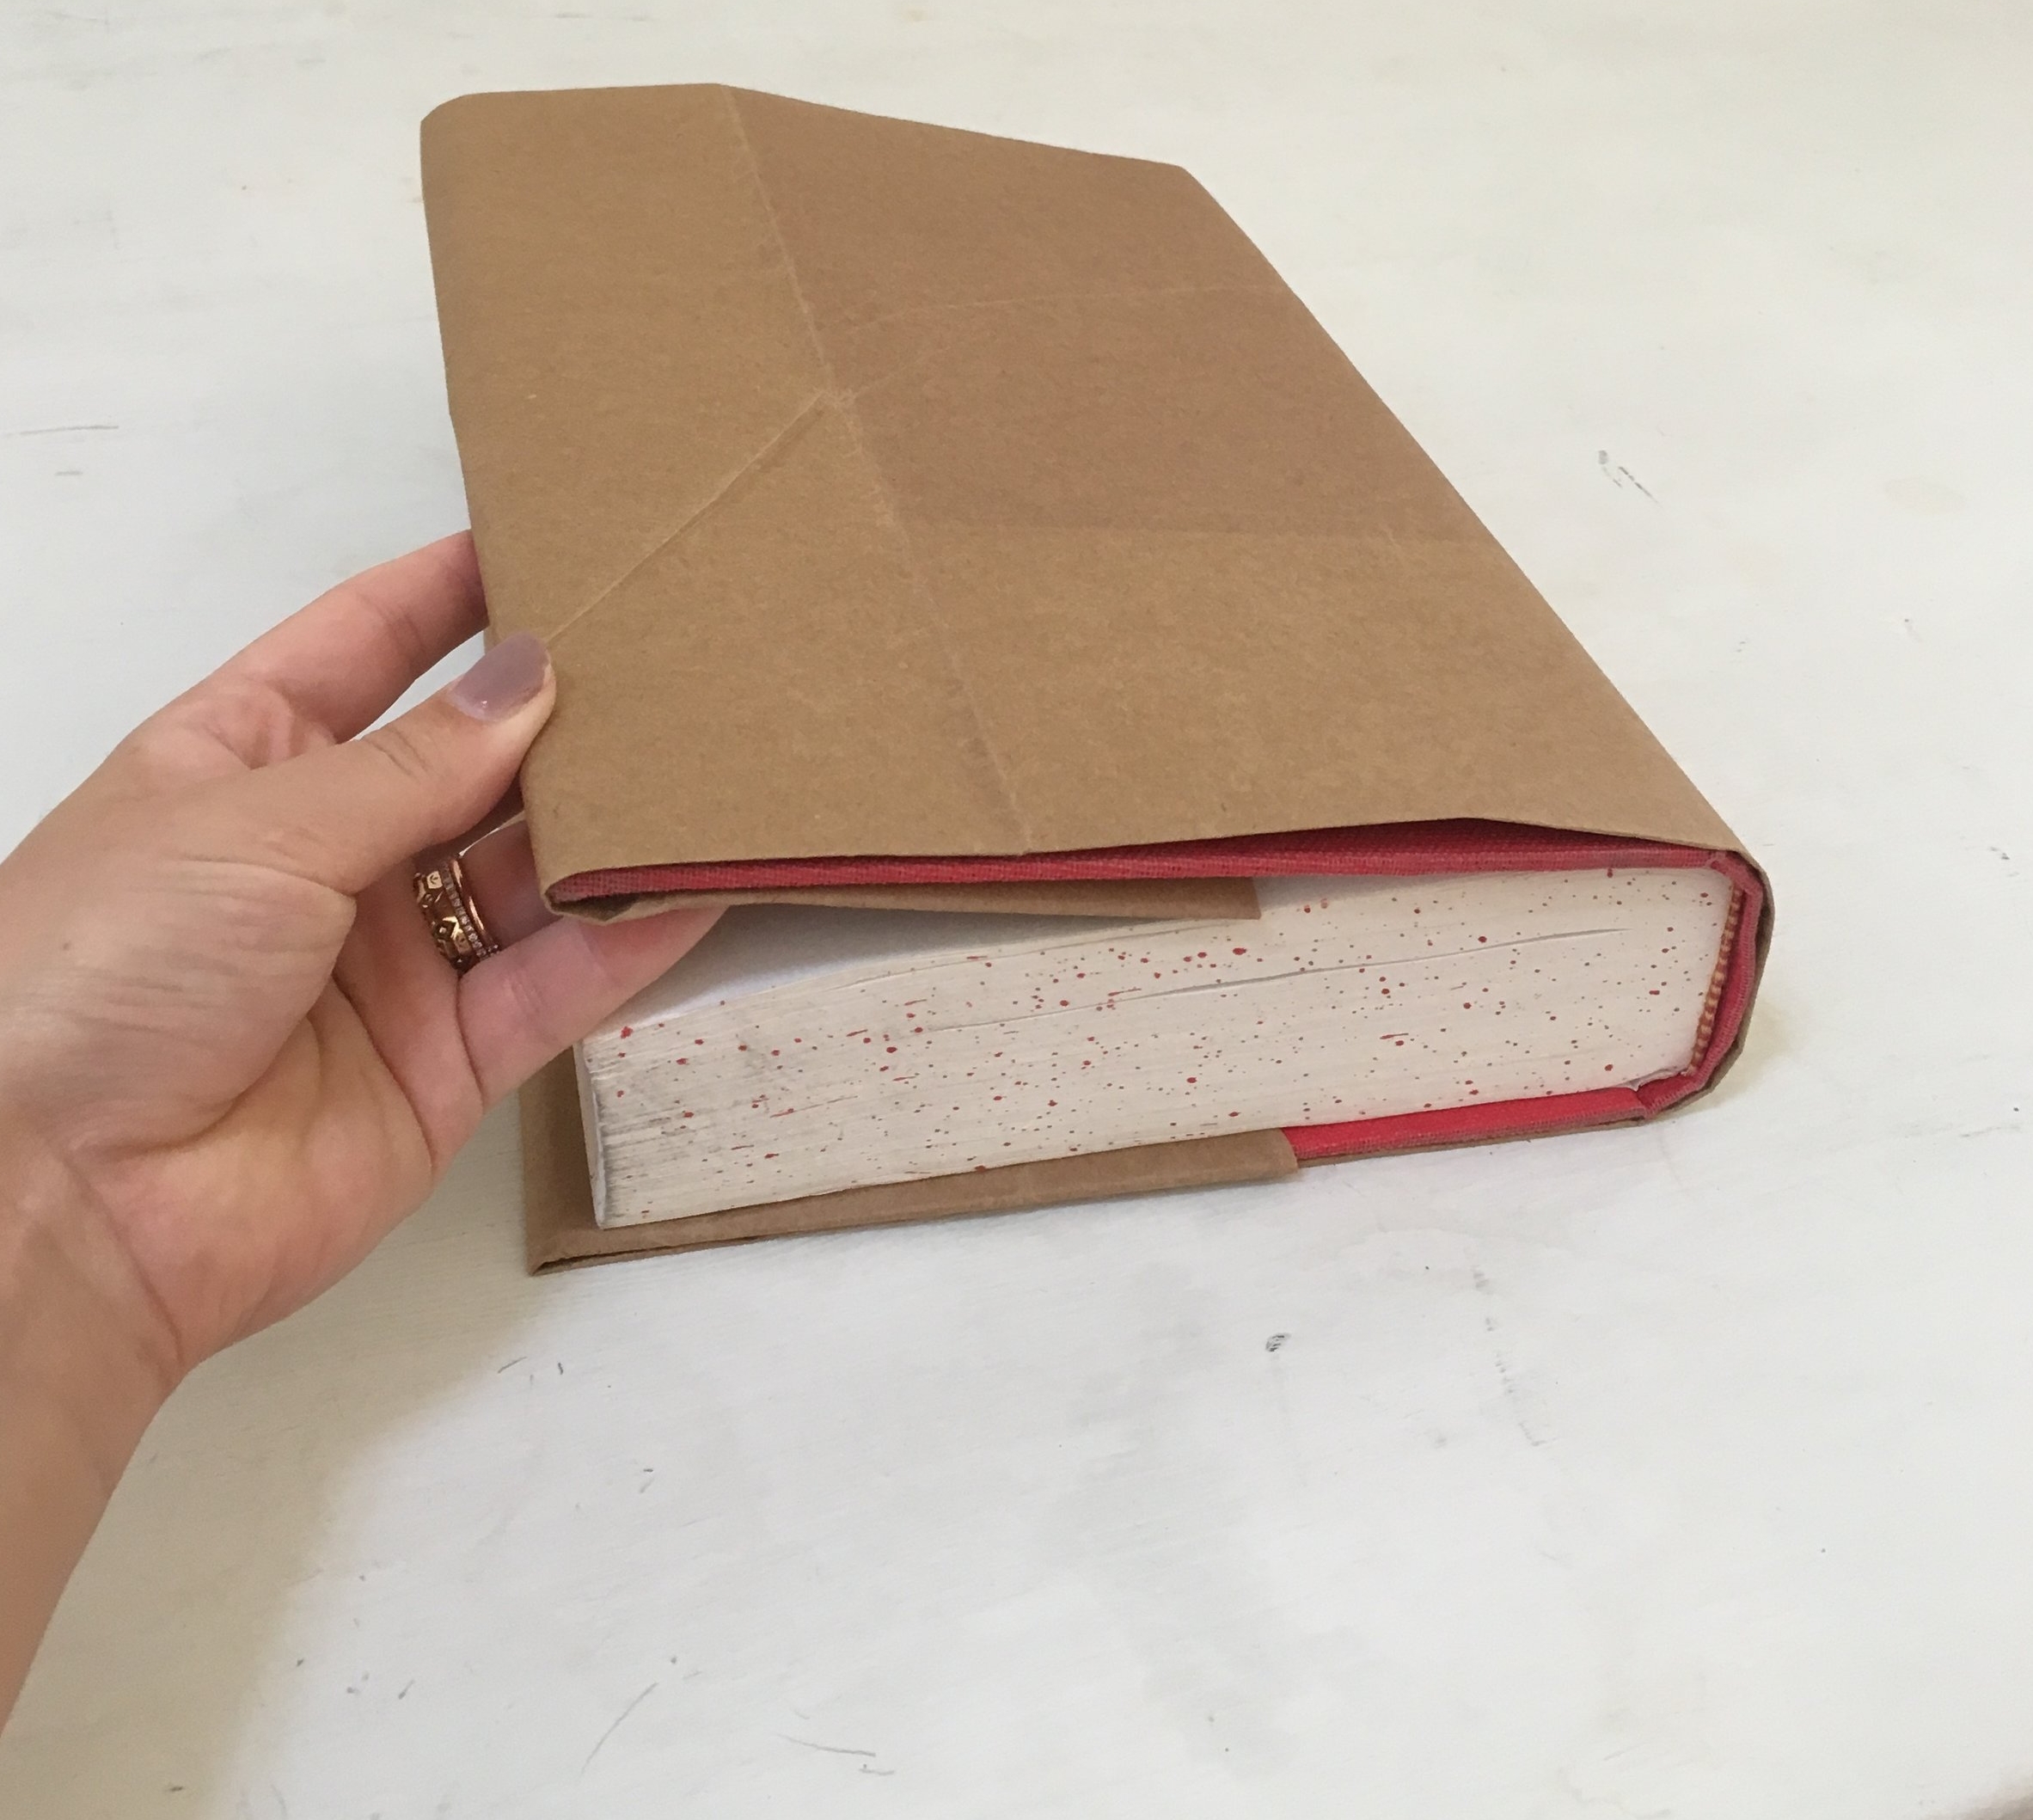
Leaving the cover of the book tucked into the cover, take the right edge of the folded rectangle of paper and fold it over the back cover of the book so that it covers between ½ and 1/3 of the back cover of the book when the book is closed. You may need to trim down your folded rectangle of paper to fit your book. Once you’ve measured and trimmed your paper, fold and press firmly. As in step three, tuck the back cover of your book into the paper fold to secure the cover on your book.
Voila!
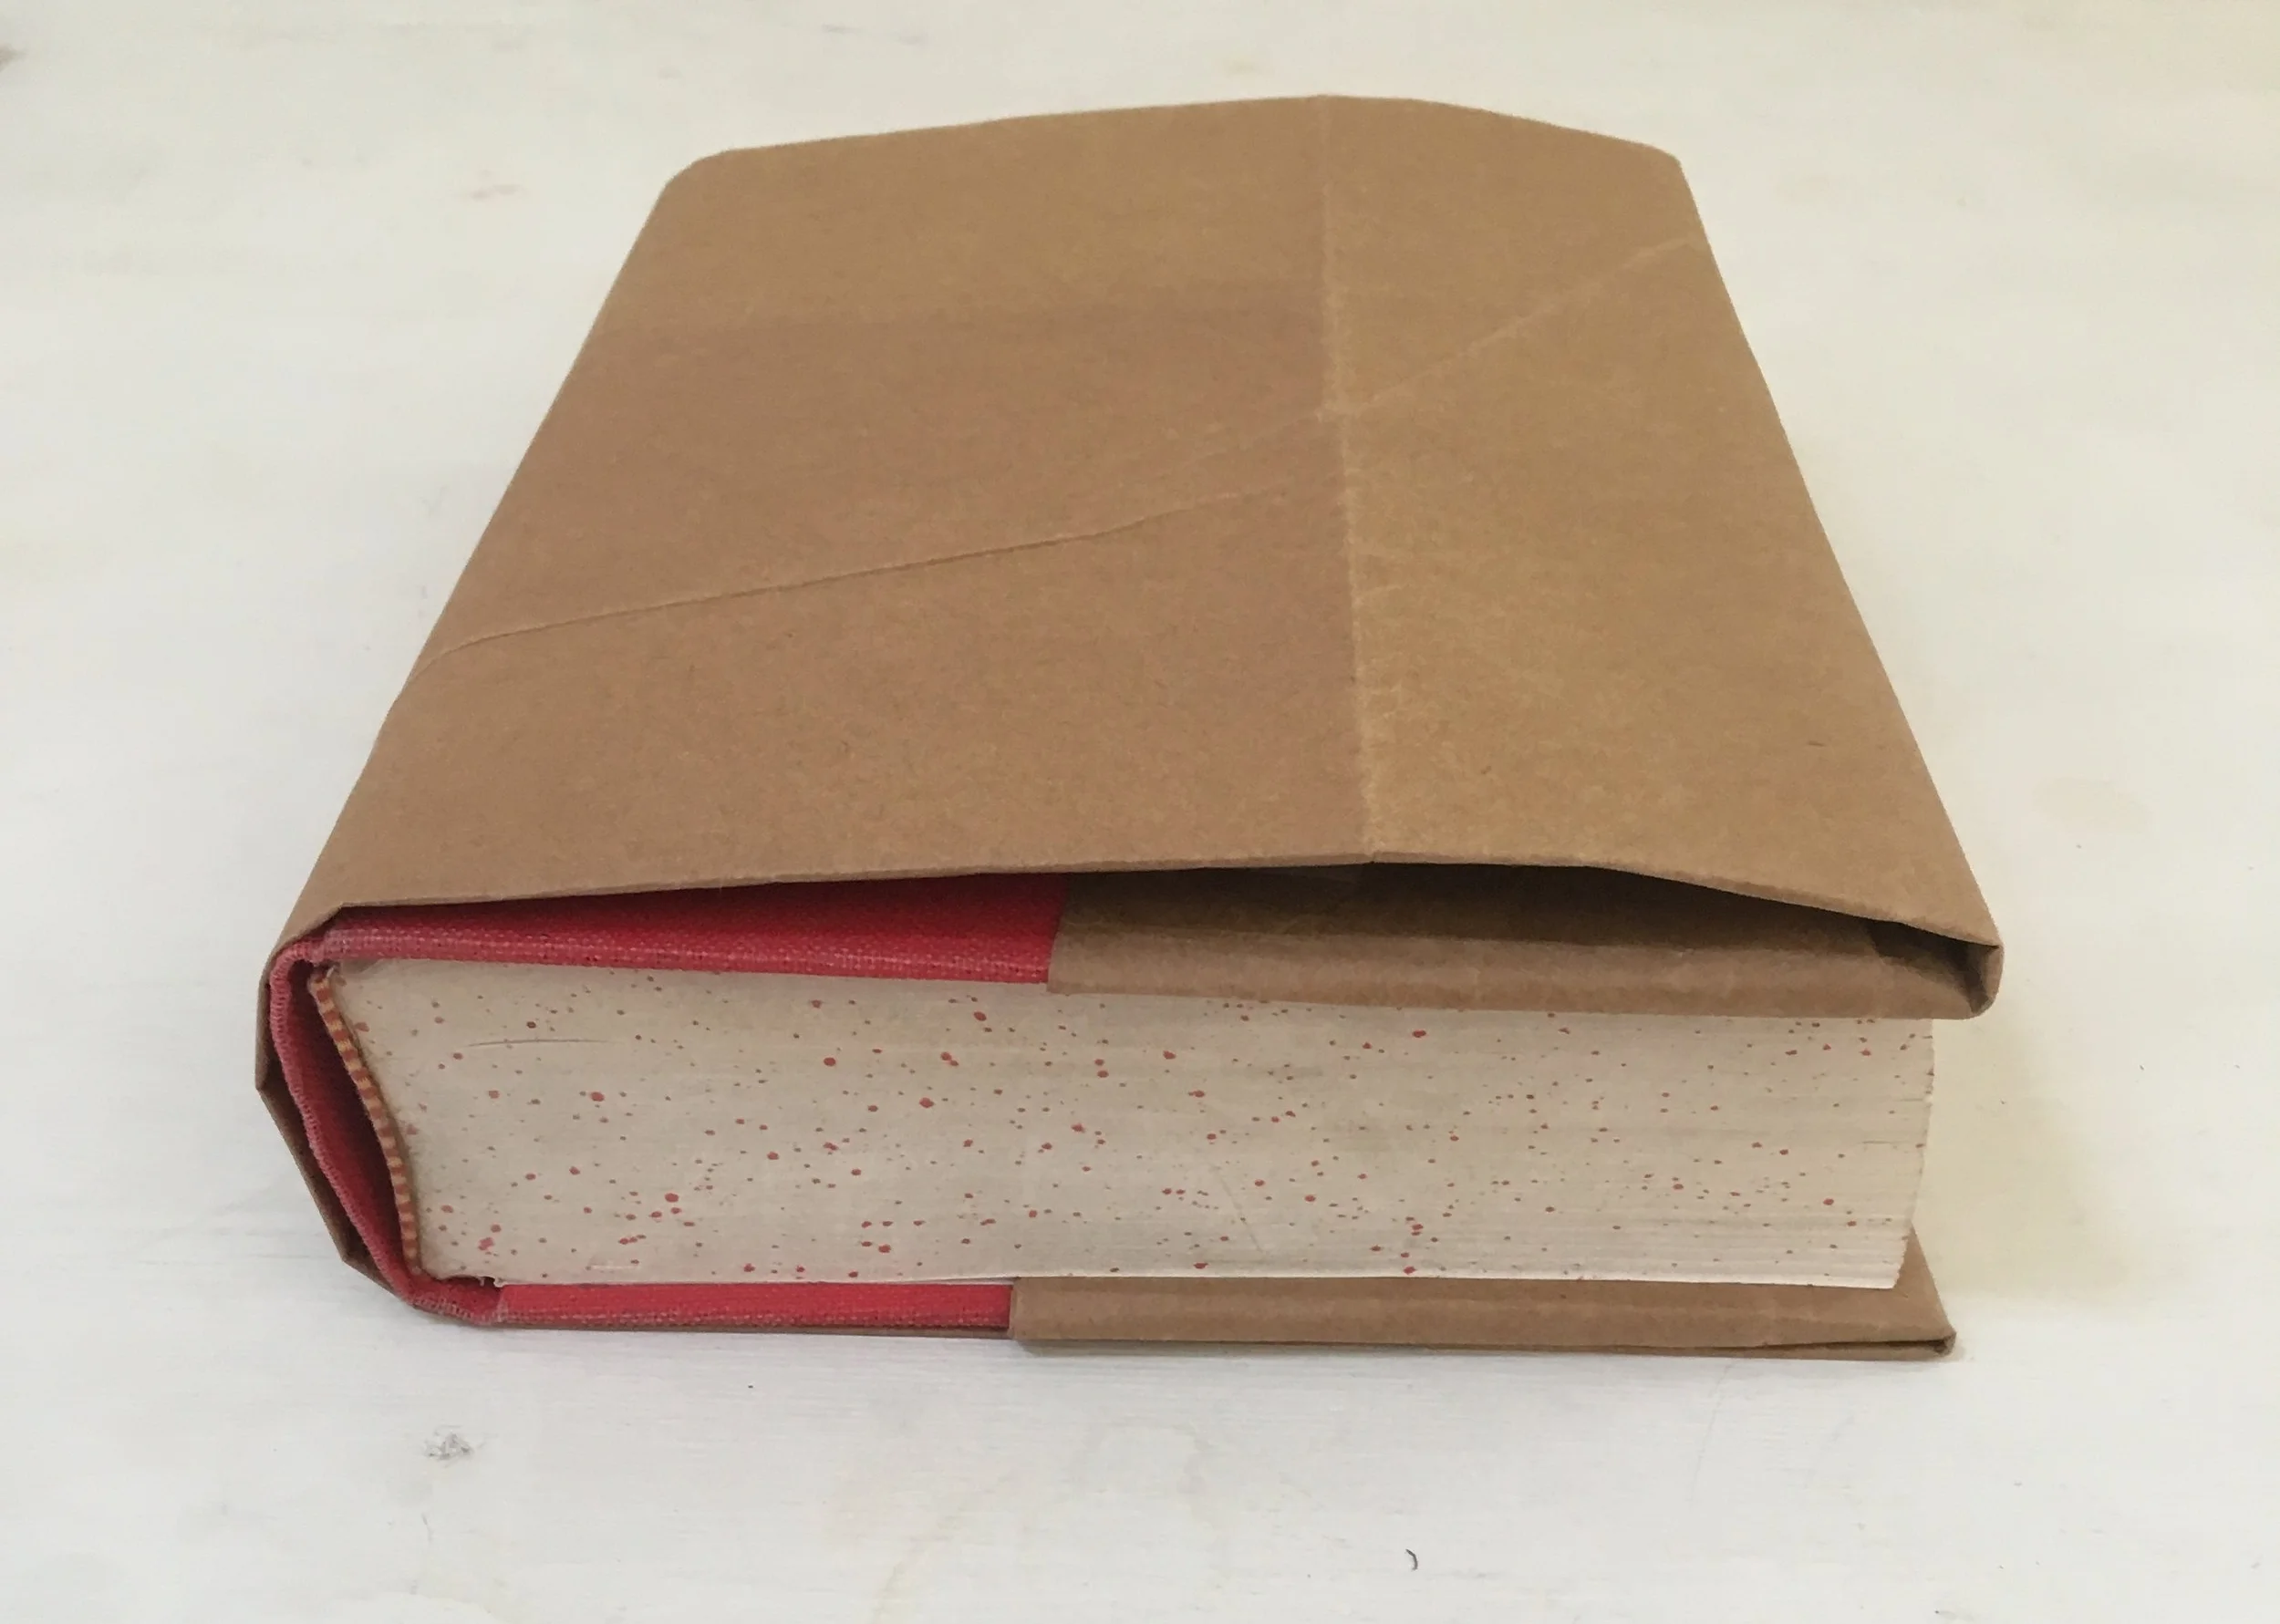
You’ve successfully constructed a sturdy book cover from a brown paper bag. If it’s for a child’s book, we suggest having them write in the name of the book and decorate it to their liking.
Some of our "junior" staff are excited to share their book cover creations with you. Good luck in the new school year Braden Pete, Ashlyn, and Andrew!

Braden Pete, Kindergarten

Ashlyn, Pre-K

Andrew, First Grade